
Go to the page of the template you want to use.
Then, from the Page Setup menu, select the layout that suits you.
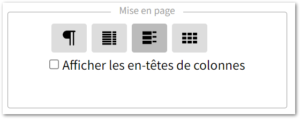
There are 4 content layouts available:
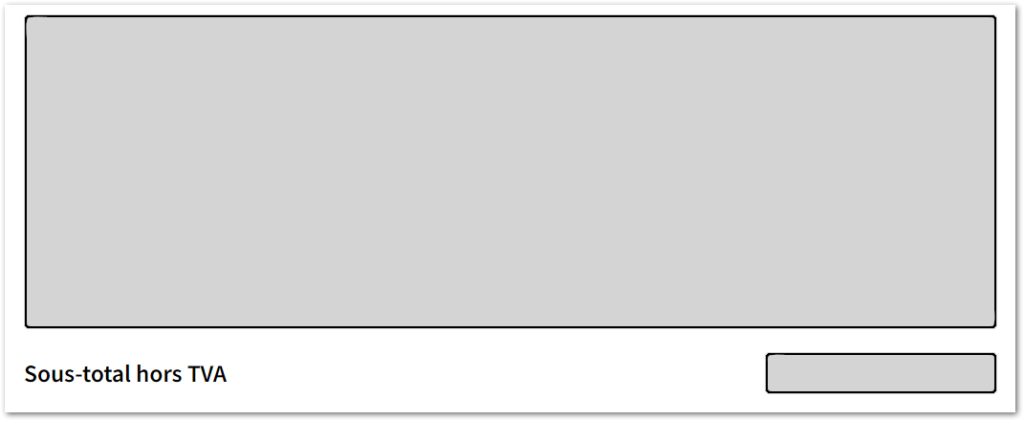
Paragraph:
The content of your invoice is presented in a few paragraphs, followed by the total
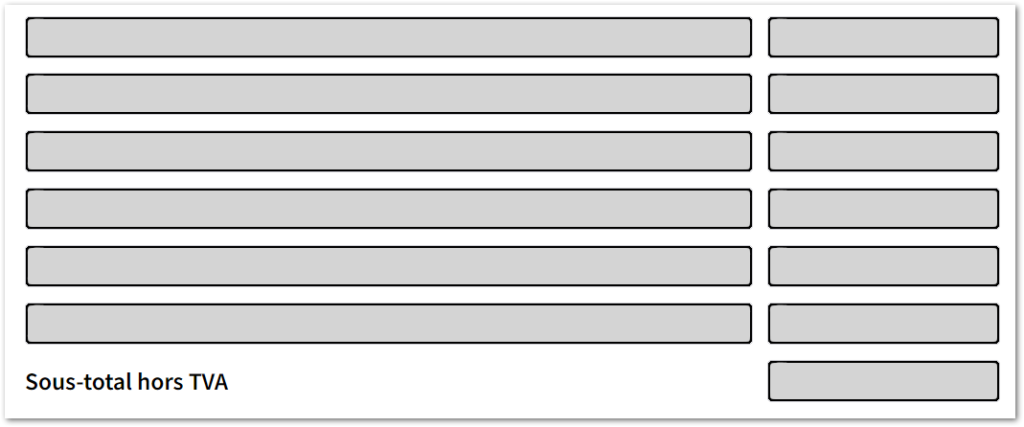
Two columns:
The content is presented in two columns on six lines. The first column for the description, the second column for the amount.
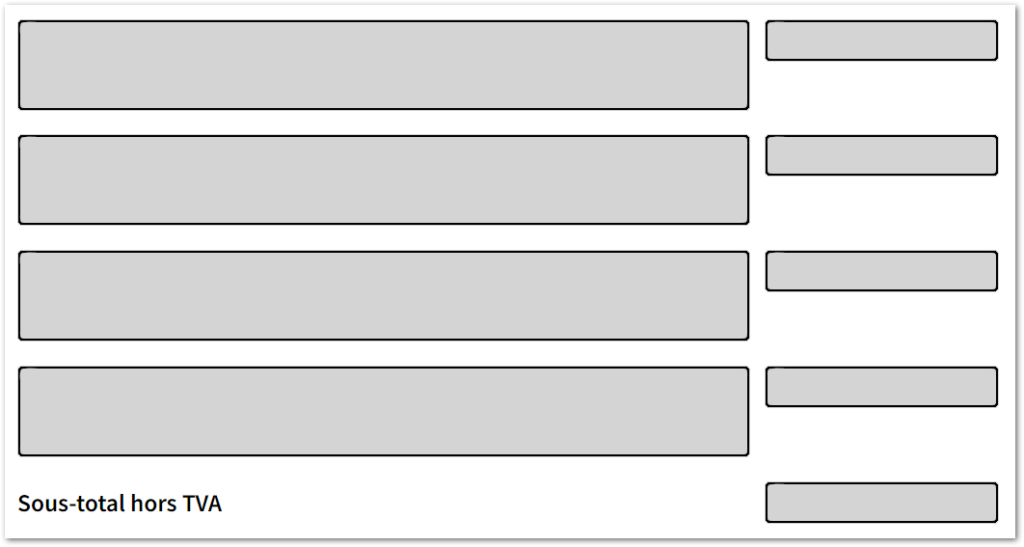
Two multi-line columns:
The content is presented in two columns on four lines. The first column for a detailed description, the second column for the amount.
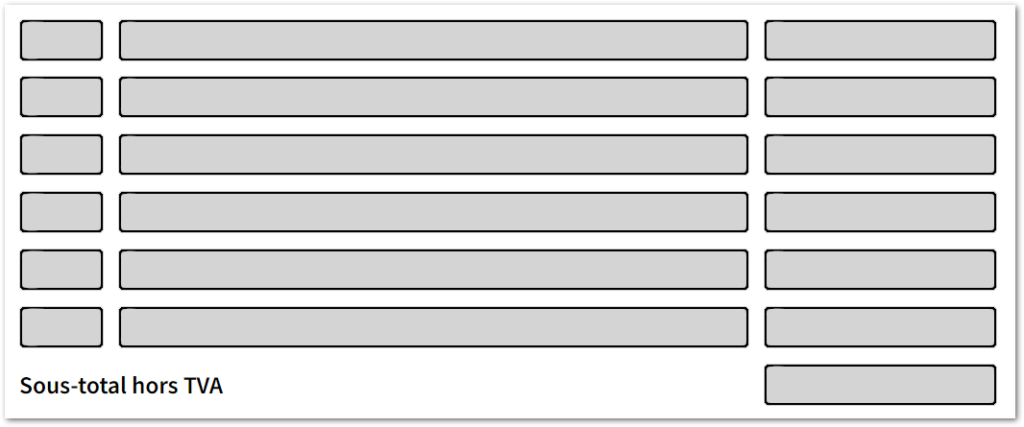
Three columns:
The content is presented in two columns on six lines. The first column for a reference, the second for a description and the third column for the amount.
The Show column headers option displays titles for the billing columns.
If you want to keep your setting for all documents, click the Set as default button.
If you have a proxy account, the logo is applied to the selected entity from the My Invoice Templates page, along with the other layout settings.